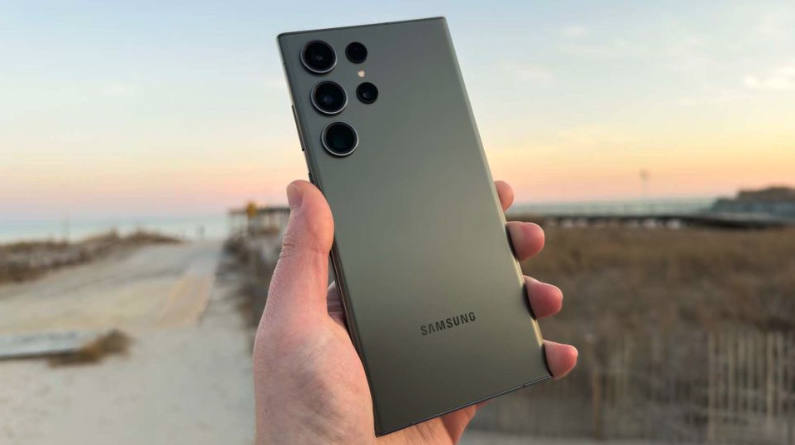
The Galaxy S23 has what’s widely regarded as one of the best smartphone camera systems in the world. Samsung stepped up its game this generation by introducing its first 200-megapixel camera, resulting in photographs that are by far some of the sharpest you can capture on a phone. It also carried over features from previous Ultra phones like 100x Space Zoom, allowing you to zoom in 100x to the frame, which can give you some amazing close-ups that just aren’t possible on other phones.
With that massive new camera, Space Zoom and the numerous professional controls on board, the S23 is well equipped for taking breathtaking photographs. To help you get the most out of these cameras, let’s go over some tips and tricks that’ll take your photography game to the next level.
Don’t have the Galaxy S23 yet? Head over to your local BeMobile today!
Adjusting your settings
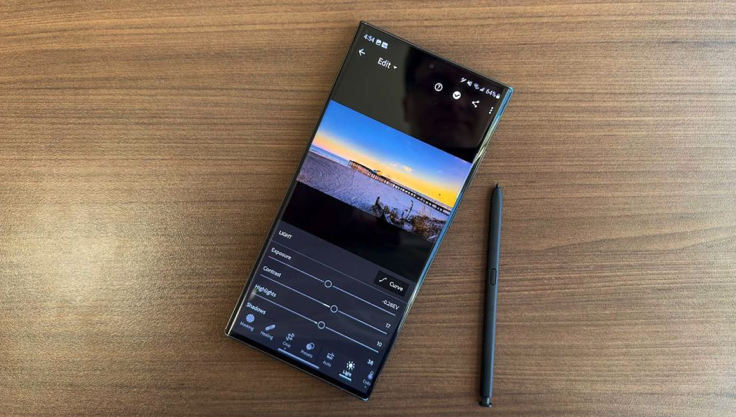
There’s a lot more to the Galaxy S23 cameras than simply opening the Camera app and tapping the shutter button. There are lots of settings, tools and features you can play around with to get the precise shot you’re looking for, all on top of the four incredibly versatile rear cameras.
For starters, let’s adjust some of the settings on the camera.
Disable scene optimizer
The first thing you should do is disable one of Samsung’s signature camera features.
Samsung phones have shipped with an AI-driven “scene optimizer” mode for years. It identifies what’s in the frame of your photo and adjusts the way it processes the final image, helping — as Samsung describes — “dark scenes look brighter, food look tastier and landscapes look more vivid.”
Look, do yourself a favor and turn this mode off. Not only does it barely make a difference compared to when it’s off, but when it does kick in (especially around food), it tends to oversaturate the final photo to a point that it seems completely unnatural.
To disable it, open the Camera app on your S23, tap the gear icon at the top and untoggle “scene optimizer” under “intelligent features.” Some might find that the extra saturation is worth keeping it on, but I’m really not a fan of its artificial vibrance.
Enable grid lines for easier positioning
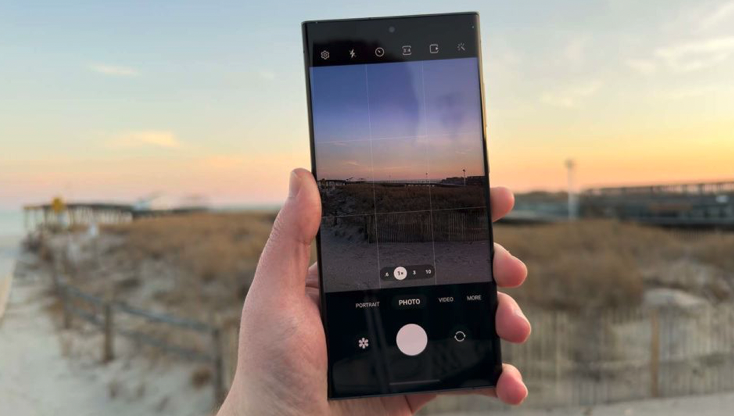
One of my go-to features with any smartphone camera are grid lines, which dramatically help when positioning a subject before hitting the shutter button. The S23 supports a 3-by-3 grid that can be enabled in the same settings section of the Camera app as the scene optimizer. Just scroll down a bit on the page until you find “grid lines,” then flick the toggle next to it.
Increase your resolution
Another setting you’ll want to toy with before taking pictures with your S23 is the resolution itself. By default, the device takes 12-megapixel (MP) photos using pixel binning to create larger individual megapixels than a regular 12MP sensor would have, allowing more light and detail into the final product.
Open the Camera app and, at the top of the screen, tap the icon that displays the current aspect ratio (by default, it’s set to 3:4 or 4:3 depending on how you’re holding the phone). From there, you can choose a few different aspect ratios as well as shooting 200 pure megapixels, ideal for when you want to take a picture you plan on printing or blowing up.
When shooting 200MP photos, it takes longer for each photo to finish capturing and processing, and it’s going to eat up a lot of your storage space. In my testing, I found each photo takes up between 25 and 30MB depending on how much is in the frame. If you want a bigger photo than 12MP but don’t want to eat up that much space on your phone, you can flip over to the 50MP option, which is still incredibly sharp.
It’s worth noting that the only resolution the three other rear cameras support is 12MP, so don’t plan on taking any extra-sharp pictures with them.
Taking the photo
Once you have your settings in order, it’s time to start shooting. There are lots of different modes you can capture pictures in, including Pro, Night and even a dedicated Food mode. Below, we’re going over the modes and features we recommend using for the perfect picture.
Feel free to zoom in or out
If you’re going to zoom on any smartphone, do it on the Galaxy S23. Samsung equips it with a 10MP telephoto sensor that uses a periscoping lens to achieve up to 100x zoom, which is completely wild.
What’s even more bonkers is the lack of significant detail loss. The camera, coupled with a second 10MP telephoto sensor, can achieve up to 10x optical zoom, which means you don’t lose any detail at all at that zoom level. Even at 30x, the hybrid zoom is good enough that it doesn’t look like you lose any sharpness or clarity. No, 100x zoom photos don’t offer the same level of quality, but at least to my eye, they’re slightly better than some of the 20x photos I’ve taken with cameras that can’t go past 3x optical zoom.
Take this photo I took of the moon at sunset. You simply can’t do this on other phones.
Alternatively, if you want to capture a cascading landscape, take advantage of the 12MP ultrawide camera. It comes with a 120-degree field of view so you can get more of the scene in front of you in a single photo.
To use all of these amazing zoom capabilities, just pinch into or out of the frame like you would with any other phone. Samsung includes a few buttons that’ll jump you to some of the best spots to zoom into, but you can always ignore them and dial in the exact distance you want.
Adjust the exposure
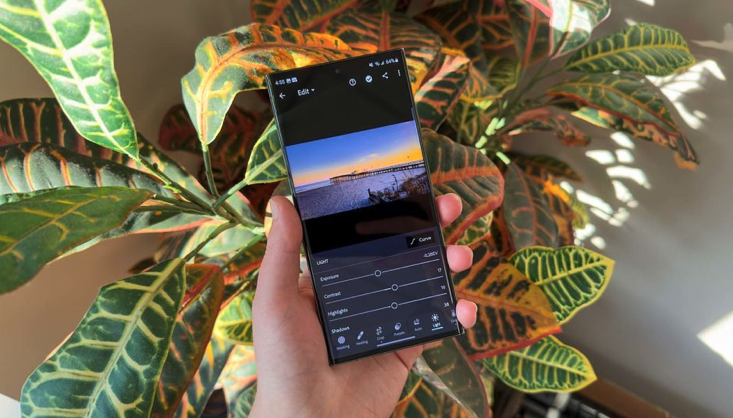
Once you’ve set your zoom, be sure to adjust for over or underexposure. It’s one of the leading causes of bad photographs, so it’s important to get it right.
To adjust exposure on the fly, tap and hold an area of the S23 viewfinder to lock focus, then use the slider at the bottom to increase or decrease exposure. This way, you’ll capture a much more balanced image that’s easier to toy with in a photo editor.
Use Expert RAW for better detail and control
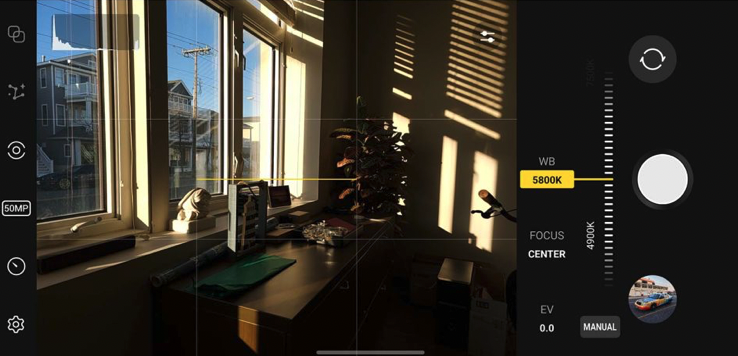
Speaking of photo editors, if you want to take the best pictures possible for post-editing, consider using Samsung’s Expert RAW app. It’s a separate experience from the main Camera app that can be downloaded from the Galaxy Store.
In the app, you can use professional camera controls to adjust settings like ISO, shutter speed, exposure, focus peaking and more before you’ve hit the shutter button. That way, you can dial in the exact photo you’re picturing in your head. The controls can seem intimidating, but they’re pretty easy to understand and get acclimated to.
As its name suggests, you can also take RAW photos in the app. RAW, or .DNG files, pack in a lot more information about the scene you’ve captured and eliminate all of the post-processing magic Samsung applies to normal .JPEG photos. These are especially useful if you plan on taking them into a third-party photo editor since you can manipulate them on a more granular level.
Samsung gives you the option of capturing pure RAW photos or high-efficiency RAW photos, which reduce their file size a bit and, in exchange, give up a bit of the detail you might need for editing later. If space is a serious issue for you, that extra detail might be worth sacrificing — .DNG files can be 110MB in size at times.
Use night mode and Astrophoto for improved nighttime shots
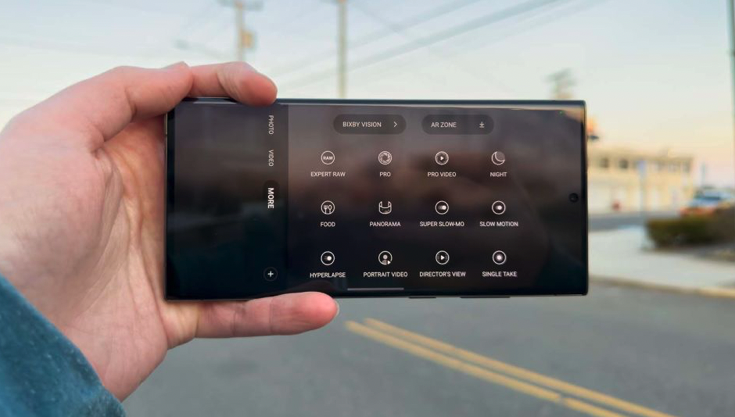
If you go to take a picture and it’s particularly dark outside, you’ll want to turn on Samsung’s night mode in the Camera app. Flip over to the “More” pane and select the “Night” option. This will optimize the S23 Ultra’s camera shutter speed and post-processing to pull out more light and detail for better nighttime photos.
If you want to take things to the next level, the Expert RAW app includes a new mode called “Astrophoto” that enables a much longer exposure for taking pictures of the night sky. You can take some really impressive shots with this mode, some that can easily compare to other phones like the Pixel 7 Pro, which takes amazing nighttime photos.
The feature can be found at the top of Expert RAW, hidden behind a button that looks like a constellation. Once enabled, your phone will tell you to remain as stable as possible while capturing since the exposure will take a lot longer than usual. I recommend using a tripod if you can.
Add a blurry background
The Galaxy S23 has an excellent portrait mode, all thanks to that huge camera sensor that adds natural depth of field to your photo. Resulting images come out with beautifully blurred backgrounds and pin-sharp subjects.
If you’d like to jump on the portrait bandwagon, tap the “Portrait” button in the bottom menu next to “Photo.” From there, you can select whether you’d like to zoom in 1x or 3x to take your picture. You’ll be asked to stand 3 to 5 feet away from your subject in order to get the best blur possible. If necessary, night mode will also kick in to brighten things up.
You also get a few neat lighting effects to really make your subject stand out, like Studio, High-Key Mono, Color Point and Backdrop.
Take a few shots at once
If you’re worried about your subject moving around too much when hitting the shutter button, it’s a good idea to use the S23 burst mode to take multiple photos at once. To do this, press the shutter button and swipe your finger to the right. This will trigger the shutter to start capturing in quick succession and shoot up to 100 photos at a time.
After the capture
After you’ve hit the shutter button, it’s time to give your photo a few touch-ups.
By default, pictures that come out of the S23 are excellent, with well-balanced exposure and contrast, good saturation and vibrance, and sharp detail. However, if you’re capturing RAW photos, you won’t get any processing on the image itself, leaving you with a flat and unappealing image that demands to be edited.
There are a couple of ways to go about this. Here’s a breakdown.
Edit using Samsung’s Gallery app or Google Photos
For basic edits to give your photos a bit more life, use Samsung’s Gallery app or Google Photos. Both offer excellent editing experiences with plenty of controls for brightness, contrast, saturation, exposure and more. You can also use a few nifty AI tools like object removal, autocorrections for color and straightening, and more.
The apps are also incredibly easy to use. You don’t need to know anything about editing photos before diving into these settings, which makes it all the more encouraging to use.
To access the editor in Samsung’s Gallery app, open an image and tap the pencil icon at the bottom of the screen. In Google Photos, open an image and tap the three lines at the bottom.
Bottom line
With so many features baked in, the Galaxy S23 is one of the most versatile cameras on the market, and it’s perfect for anyone looking to take their smartphone photography game to the next level.
The powerful hardware, well-designed and intuitive software, and Samsung’s partnership with Adobe drive an experience unlike any other in the smartphone market, and these tips can help you get the most out of it.
What’re you waiting for? With some of our best deals happening with the S23 now you won’t want to pass this up!


